Saturday, June 27, 2015

Our Unknown REVEALED!

After all that testing in 5 short (long) days, we were able to conclude what our unknown "K" bacteria was! One of the first tests done at the beginning of the semester was to perform the gram stain.  Our gram stain revealed that our bacteria was gram negative.  Under the microscope, our bacteria were rod-shaped tiny bacteria.  These two little observations allowed us to narrow what our unknown bacteria was.  After all the tests were done and analyzed as discussed in previous blogs, we were able to conclude what the unknown bacteria was.

We followed the flow chart and using our results, we followed these steps:

1.) Gram- Negative (that eliminated many bacteria)
2.) Lactose: positive (what could it be?!)
3.) Indole: positive (Oh no!)
4.) Citrate: negative.... (WAIT FOR IT...)


Escherichia coli!!!!
The chart we used to identify


That's all, folks!

Day 5: Antibiotics testing

During our last day, we analyzed the antibiotic sensitivity test to determine if the unknown bacteria was resistant or sensitive towards certain antibiotics.  If the bacteria grew around the antibiotic area, it was resistant. If there was a ring around the antibiotic area, the bacteria was sensitive to it.  We spread the bacteria on the agar culture plate and placed four different antibiotic areas in four labeled locations on the plate.  We did the same thing for the second plate.

         
Antibiotic tests 1-4

Antibiotic tests 5-8

      After incubation, the best antibiotic for the bacteria was Amoxicillin. 
The measured diameters of the bacteria surrounding the antibiotics are as follows:
             Penicillin: 8 mm (resistant)
             Novobiocin: 0 mm (resistant)
             Neomycin: 14 mm (intermediate)
             Streptomycin: 19 mm (sensitive)
             Tetracycline: 16 mm (intermediate)
             Erythromycin: 0 mm (resistant)
             Amoxicillin: 22 mm (sensitive)
             Oregano: 20 mm (sensitive)
Measuring the diameter
Oregano was almost the same distance as our best antibiotic, Amoxicillin, so we concluded that it is sensitive.  Compared to Novobiocin, oregano is a much better antibiotic for the unknown bacteria.

We also analyzed the selective and differential media plates.  We used mannitol salt agar plates to see if Molly had the bacteria Staphylcoccus aureus (MRSA). Using a sterile cotton swab, we dipped the swab into saline solution and swiped it around the inside of Molly's nostrils.  We then spread the swab around on the mannitol salt agar plate to cover the entire plate.  We incubated the plate at 37°C (the temperature of Molly's body).  After 24 hours, we did not find the Staphylococcus aureus bacteria in Molly's nostrils (Thank goodness!)

Negative!!


The next experiment was throat swabs! This test s used for detecting the bacteria streptococcus (strep throat).  Lindsey and I both had our throats swab because I had a sore throat and Lindsey wasn't sick so we wanted to compare the two.  Using a sterile cotton swab, we got bacteria from the throat and spread it around the blood agar plate, covering the entire plate.  We incubated the plate at 37°C (the temperature of the human body). Both plates turned out to be α lysis which is a particle sensitivity to hemolysis.  However my half of the plate showed a spot that could be the streptococcus bacteria!

Our throat swabs!

The final four selective and differential plates were the blood agar plate, MacConkey agar plate, Phenyethyl alcohol agar plate, and EMO plate.  On each of the different plates, using the aseptic technique, we drew a squiggle line and incubated the plate at 37°C overnight.  

The blood agar plate showed α partial hemolysis. 


Our results are on the left
Our alpha results on the right


The MacConkey Agar was positive because there was no color change. Gram-negative bacteria grows.

Phenyethyl alcohol agar plate was negative because only gram-positive bacteria grows and our bacteria is gram-negative. 
Our bacteria on the right- no growth

 Our EMO plate was positive as there was clearly growth!
Look at that thing!


The next experiment was the ELISA test. The ELISA test demonstrates the use of antigens and antibodies.  Antigens produce antibodies to kill substances foreign to the body.   The test was used to see if the HIV virus was present in different samples.  First, we labeled each of the 12 wells properly.  Then we added 50 microliters of the purified agent into each well and let that sit for 5 minutes so the antigen can bind to the well.  After 5 minutes, we poured the solution onto a paper towel and washed the wells with a wash buffer.  Now, it was time to add the antibody. We then added 50 microliters of the positive control to the first 3 wells, 50 microliters of the negative control to the next 3 wells. We then added 50 microliters of the first sample, 20, into the wells 7-9 and the 50 microliters of the second sample, 43, to wells 10-12.  After 5 minutes, we washed the wells with the wash buffer.  We then added 50 microliters of the second antibody to all 12 wells. After 5 minutes, we washed the wells with the wash buffer twice.  Finally, was added 50 microliters of the enzyme substrate to the 12 wells.  After 5 minutes, we observed the sample 43 was HIV positive. 

ELISA test
Our materials


Positive patient 43!


Day 4: The Results!

Day 4 was mainly a day for analyzing all our our results from the tests done in Day 3.  So after all the test were finished in day 3 and inoculated, we analyzed the bacteria and came up with these results. These results are important for the health science field when treating a patient.  The caretaker must properly understand and identify the bacteria or illness before they can treat it. 

The starch test was negative meaning our bacteria did not use starch, a carbohydrate made from glucose. The use of starch is by alpha-amylase enzyme. 

Our negative starch hydrolysis plate

The casein test was negative meaning our bacteria did not use casein.  The gelatin test showed some liquid but after it was placed in the refrigerator, there was no liquid, meaning the test was negative and our bacteria did not use gelatin.  Our lipid triglyceride test was negative meaning our bacteria did not use lipid.  There an no enzymes that can break the lipid.


Next, we analyzed our bacteria's ability to ferment carbohydrates.  Our results showed:

Lactose: Bubbles were present (presence of gas); the color changed to yellow. There was bacterial  growth in the tube.

Glucose: Bubbles were present (presence of gas); the color changed to yellow. There was bacterial  growth in the tube.

Sucrose: There was on tiny bubble at the top (small presence of gas); the color remained orange-red (no color change). There was bacterial growth in the tube. 

Maltose: Bubbles were present (presence of gas); the color changed to yellow. There was bacterial  growth in the tube.

All positive but sucrose

Our next test was the methyl-red and Voges-Proskaus tests. We poured half of the liquid into a clean test tube and put 8 drops of methyl red dye into the tube. This test was to determine if we have E. Coli or not. To follow to test, we used 5 drops of B reagent and 15 drops of A reagent.  The test was positive, allowing us to highly consider E. coli as our unknown bacteria!!


The Voges-Proskaus was next. This test was to determine that if there was butanediol, there would be a color produced. The bacteria would be E. aregenous if a rose color was produced. There was no color produced so the test was negative.  

Our negative VP and positive MR tests
For the indole tryptphan test, we added 10 drops of Kovac's reagent into the tube. This reagent is dangerous so we had to wear gloves! There was a red line at the top of the liquid. This was a positive result telling us that our bacteria used tryptophan. 
THE RED LINE!

For the nitrate test, the first step was to add 10 drops of A-sulfanilic acid and 10 drops of B- dimethyl- α-naphthylamine to the tube.  Our liquid turned pink so we didn't need to add the zinc powder.  Our results were positive and our bacteria used nitrate to produce nitrite.  
Positive nitrite test because of that bright color change!

For the TSAI test which used 0.1% glucose and 1.0% lactose and sucrose, our slant turned yellow meaning acid was produced and our acid butt was positive also  However, our results were negative for H2S.

The urea test was negative so our bacteria
did not contain urease.

The litmus test allowed us to find out whether our bacteria uses lactose, protein, and litmus.The litmus test showed a color change from purple to a pinkish purple.  This test was negative for gas because no fissures were produced. The test was positive for using lactose to produce lactic acid.  We had a white acid curd at the bottom of the tube meaning litmus was reduced.

Our acid curd


The motility test showed that our bacteria is non-motile. 

The GasPac test was positive for growth, allowing use to know our bacteria is falcultated (grows under aerobic and anaerobic conditions).  The thyogylcolate test also proved our bacteria is falcultated because there was bacterial growth in the middle and top of the tube.

Growth on the top and middle
The backside of the growth


Our bacteria grew under anaerobic conditions too!
The catalase test was postivie because bubbles were produced meaning H2O2-> H2 +O2. We poured hydrogen peroxide into an agar plate with our unknown bacteria.  Because our bacteria started to bubble, there was gas produced, showing the presence of the enzyme catalase.
Bubbles!


The oxidase test was negative because there was no color change.  We added the reagent onto filter paper and applied the bacteria on the color change. The results were negative.

The citrate test was negative. We inoculated the tube with our unknown bacteria and inoculated it at 37°C overnight. If the tube turned blue, the test would have been positive. However, our tube remained green. 


 Our negative citrate test

 We also tried to make yogurt but that turned out to be not as successful as we had hoped.
Our yogurt samples

Day 3: More staining

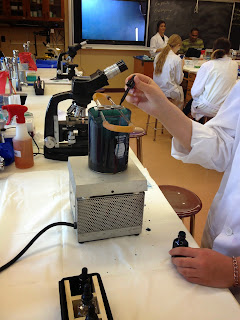
We began the day by making a variety of stains. The first stain we made was a Capsule stain to see if our unknown bacteria had any capsules.  We used Nigrosin to stain and added the bacteria, using the aseptic technique, from the working stock to the stain drop.  The slide was held at a 45 degree angle to spread the dye and bacteria by dragging another slide across it in one, smooth movement. After drying, safranin was added to cover the slide for 60 seconds.  The slide was rinsed with water and blotted dry. The nigrosin stains the background of the cell and the saphrinin stains the cell wall so that the capsules surrounding them can be clearly seen. Because there was no white and both the bacteria cell wall and background were dyed, there was no capsule. By using this stain method, health science majors can determine the bacteria and properly treat the bacteria.
Bacteria with no capsule

The next stain was did was endospore stain to see if our bacteria was producing endospores.  We drew a circle of the slide with a china marker to know where to place the bacteria.  We added a droplet of water and bacteria from the working stock. Once it was air-dried, the slide was placed over boiling water and covered with bibulous paper.  The slide was saturated with malachite green dye for 5 minutes. After the malachite green began to steam, adding additional stain to the slide to prevent it from drying. After 5 minutes, the paper was removed from the slide and placed in the biohazard bag. The slide was left to cool. It was rinsed with water then covered with safrinin fro 60 seconds and rinsed with water again to removed excess safranin. The slide was blotted with bibulous paper. After examining the slide under the microscope, there was no endospores. 

Saturating with malachite green
Rinsing the slide


Bacteria under the microscope
No Endospores!


         Our next stain was the acid-fast stain. After preparing a slide with our bacteria using the aseptic technique, the slide was placed over a beaker with boiling water.  Bibulous paper was placed over the slide and saturated with Ziehl-Neelson carbolfuchsin.  The stain was covered for 4 minutes. While the stain was evaporating, more stain was added to prevent it from drying.  After 4 minutes, the slide was removed from the heat to cool and the paper was placed in the biohazard bag. To remove excess stain, the slide was rinsed with water.  The slide was held at a 45 degree angle and decolorized with acid alcohol. The slide was rinsed with water and then covered with methylene blue for 2 minutes. The slide was rinsed with water and blotted dry with bibulous paper.
Saturating the slide with Ziehl-Neelson carbolfuchsin
Bacteria under the microscope


The next part of the day consisted of doing a multitude of test to determine our unknown bacteria.
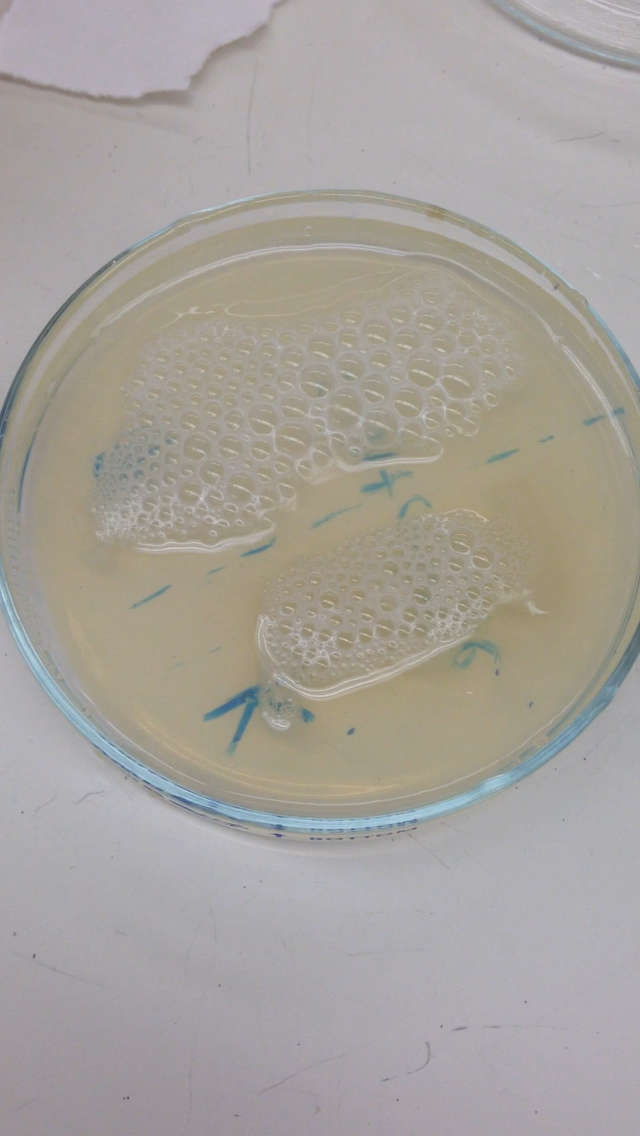
        Our first test was the starch hydrolysis test. This test would determine if our bacteria contain amylase, which digest starch. Using a starch agar plate, we inoculated it by streaking a squiggle like on the surface using the working stock culture. We incubated the plate at 37°C overnight.
        We preformed the casein hydrolysis test to see if our unknown bacteria contained caseianse, a protease that digests casein (how clever!). We inoculated a skim milk agar plate  by streaking a squiggle line on the surface of the agar with our working stock culture. The plate was incubated at 37°C overnight.
       Next, we did the urea hydrolysis test, the lipid test, to see if our bacteria contained urease.  We used urea-containing broth. Using the aseptic technique, we inoculated the urea with our working stock culture.  The tube was incubated at 37°C overnight.
       Next was the gelatin hydrolysis test. Using a nutrient gelatin test tube culture, we stabbed the nutrient gelatin with our bacteria, inoculating it.  We incubated the tube was incubated at 37°C overnight.
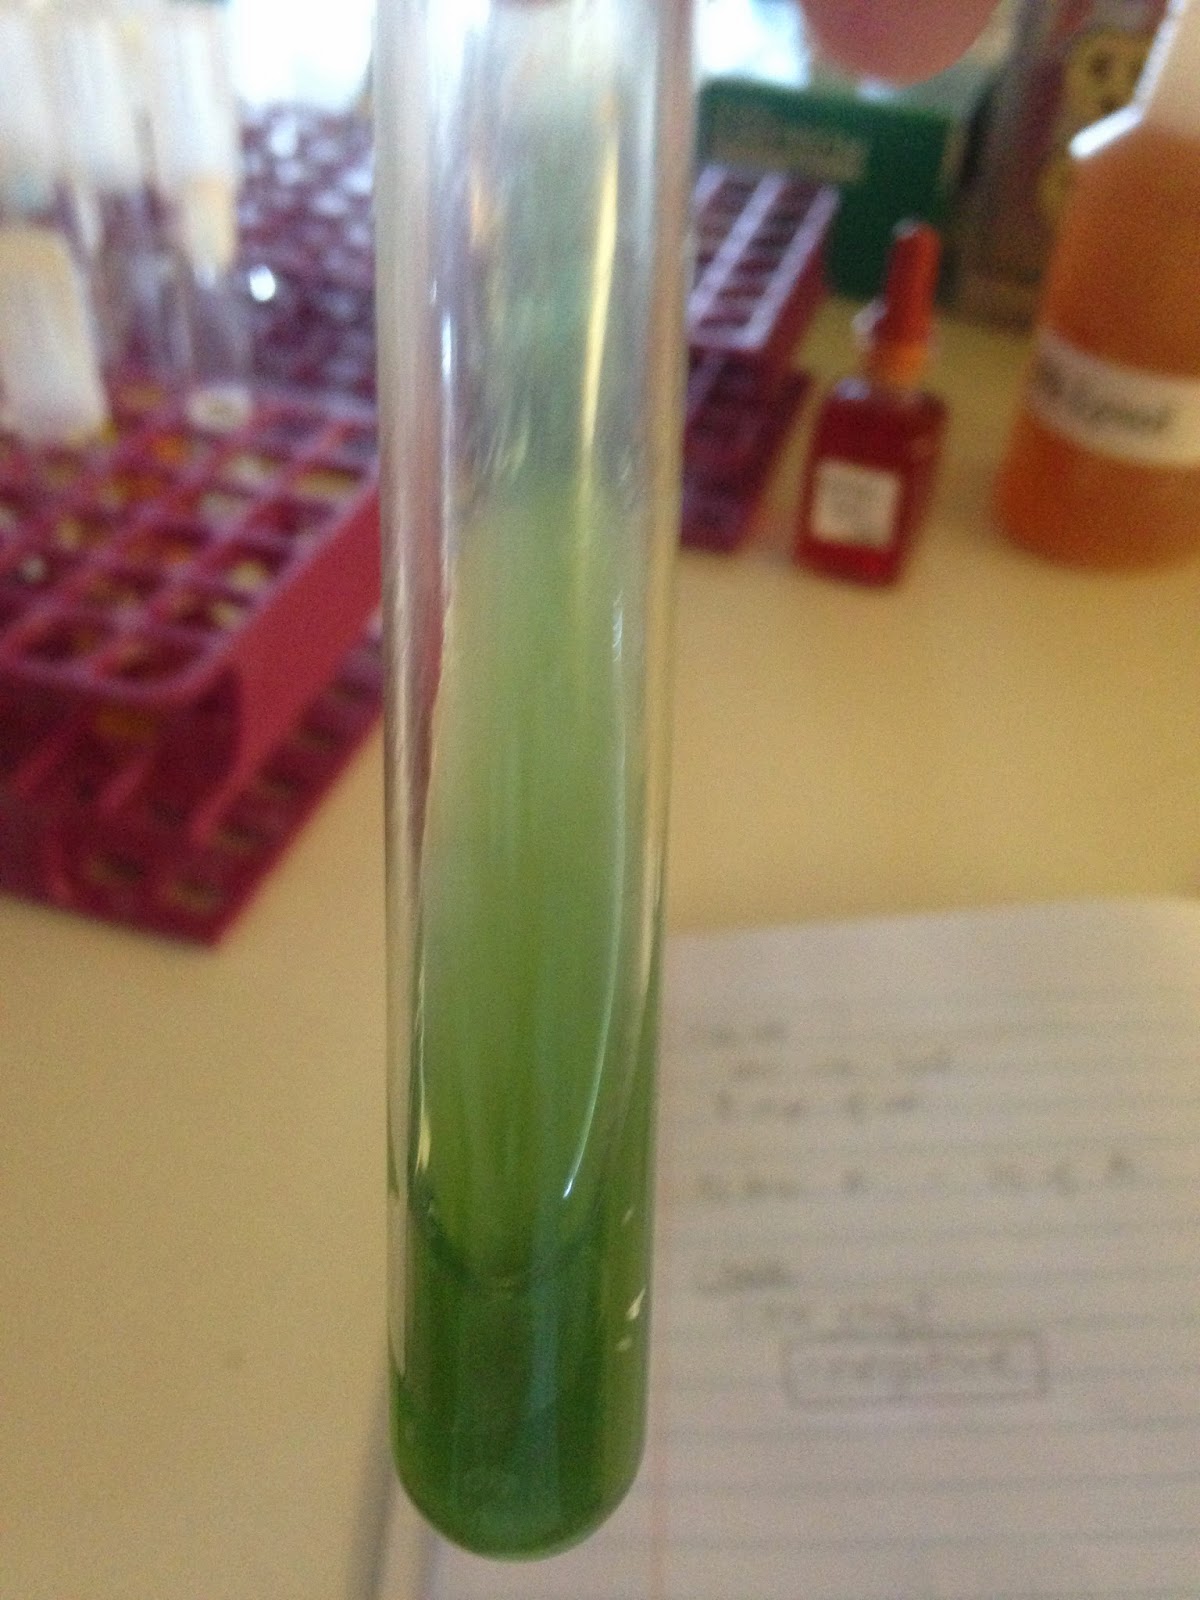
Our next experiments involved a variety of sugars. We inoculated three sugar test tubes  to determine our unknown bacteria’s ability to ferment certain carbohydrates. The sugars used were lactose, glucose, sucrose, and mannitol.  Using the aseptic technique, the bacteria from our working stock cultures were inoculated into each tube, respectively.  We did a mixed acid test of methyl-red and Voges-Proskaus.  Using the aspetic technique, we used the working stock culture to inoculate the liquid culture.  We used the same technique for the indole (tryptophan) and nitrate cultures.  The next culture was the citrate slant.  Using the aspetic technique, a needle of bacteria form our working stock culture was inoculated into the tube. 
Our sugar tubes

       Next, we tested our bacteria using the “Triple Sugar Iron Agar” or “TSIA” using the same technique as above. 
       Another test we performed was the Litmus milk test. The test allowed us to find out whether our bacterium utilizes proteins, lactose and litmus.
The next part of the day consisted of determining if our unknown was facultature, meaning both aerobic and anaerobic.  We known that our culture is not obigate anaerobic because our unknown bacteria has grown in oxygen (aerobic). In order to test if our unknown is facultature, we did a multitude of tests. 
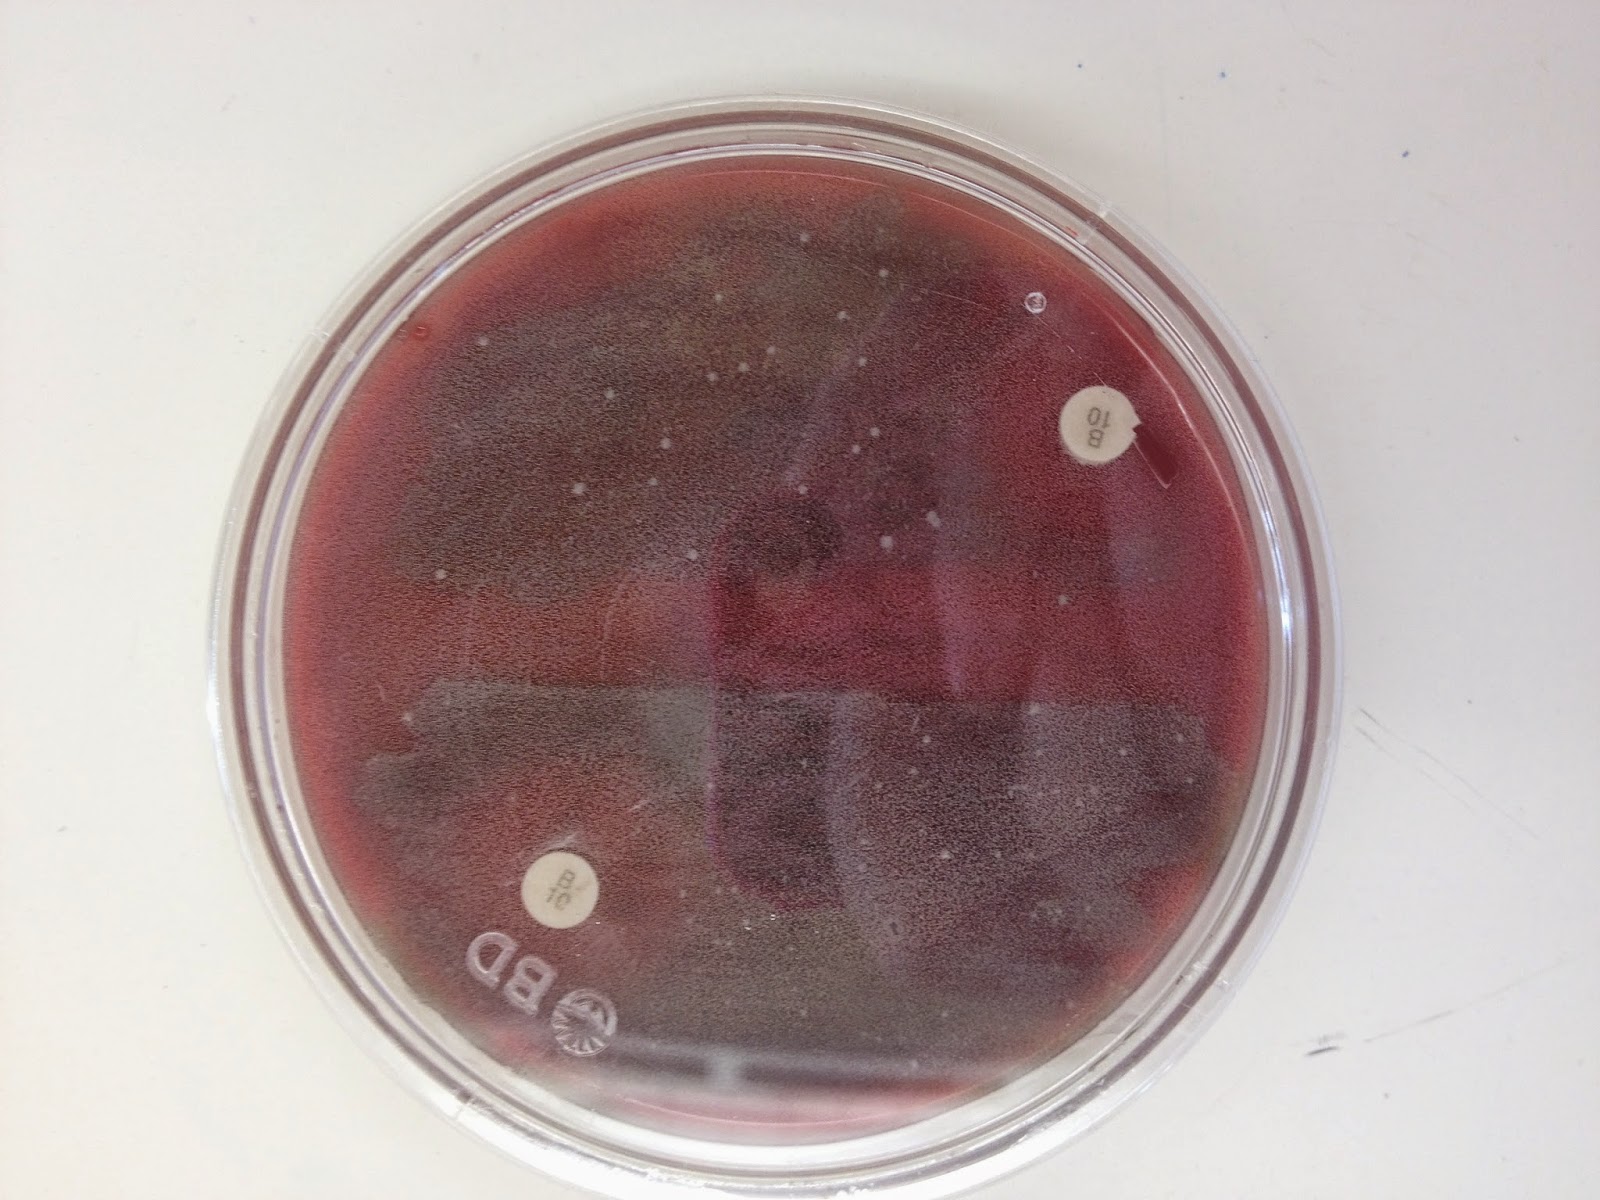
To test for motility, we used the aseptic technique by dipping our inoculating needle into the working stock culture.  We stabbed the needle into the middle of the motility medium.  The tube was incubated at 37°C overnight.
       For the catalase test, after the aspetic technique, we drew a squiggle like of a nutrient agar culture plate. The plate was incubated at 37°C overnight.
        Finally, we wanted to determine if our unknown was facultature, meaning both aerobic and anaerobic.  We known that our culture is not obigate anaerobic because our unknown bacteria has grown in oxygen (aerobic). In order to test if our unknown is facultature, we did gaspac and thyoglycolate tests.  For the gaspac test, after the aspetic technique, we drew a squiggle like of a nutrient agar culture plate. For the thyoglycolate test, after using the aspetic technique, we obtained bacteria from the working stock culture and inoculated the thyoglycolate tube. The tube was incubated at 37°C overnight.


Placing our cultures under anaerobic conditions
The pictures of these tests are seen in the Day 4 post!